Cue the confetti! You just joined the newest, fastest growing wedding and event platform in the biz! We’re THRILLED to have you. But now that you signed up, you’re probably wondering, where do I start? Don’t stress, we’ve got you. One of the biggest reasons so many small business owners are choosing RPC is because it’s easy to use. Here are 7 easy steps that will get your account ready for action!
1. Set up your pay-to account
This is THE most important step. We partner with Stripe to offer the easiest online payment options for both you and your clients. So in order to get paid (or send an invoice), you need to enter Stripe-required business information. After logging into your account for the first time, visit My Wallet and click “add” pay to account. Be sure to fill out all fields on the form carefully. You should see a success message indicating your information has been submitted. At this point, you can send an invoice but keep a close eye on your email as pay-to account setup is generally a 2-step process. We will send an email if additional information is needed before accepting payments. We will also show you what information is needed when you log into your RPC account…so you can’t miss it!
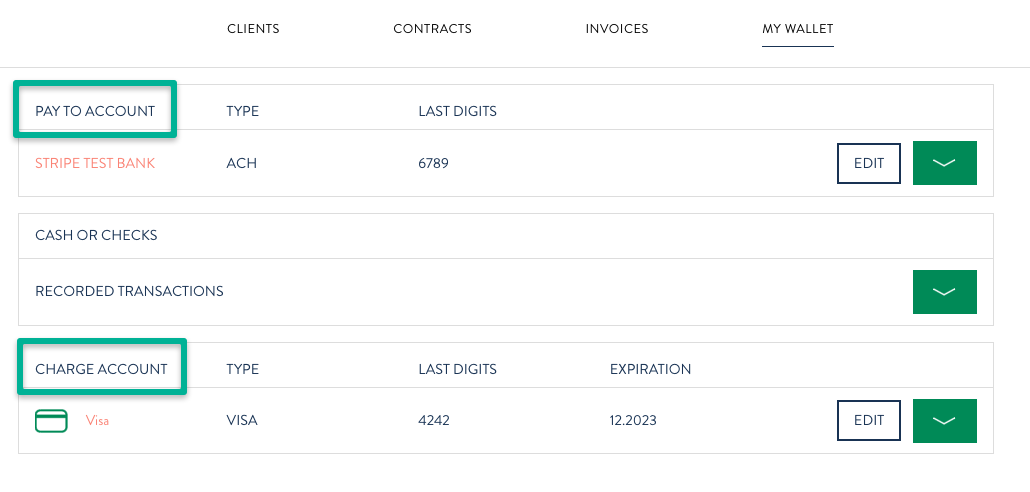
2. Add a charge account
A charge account is required. This needs to be a credit card (sorry, no debit cards). It is used for bookkeeping fees, subscription fees (if applicable), and dispute fees (fingers crossed there will be none of those!)
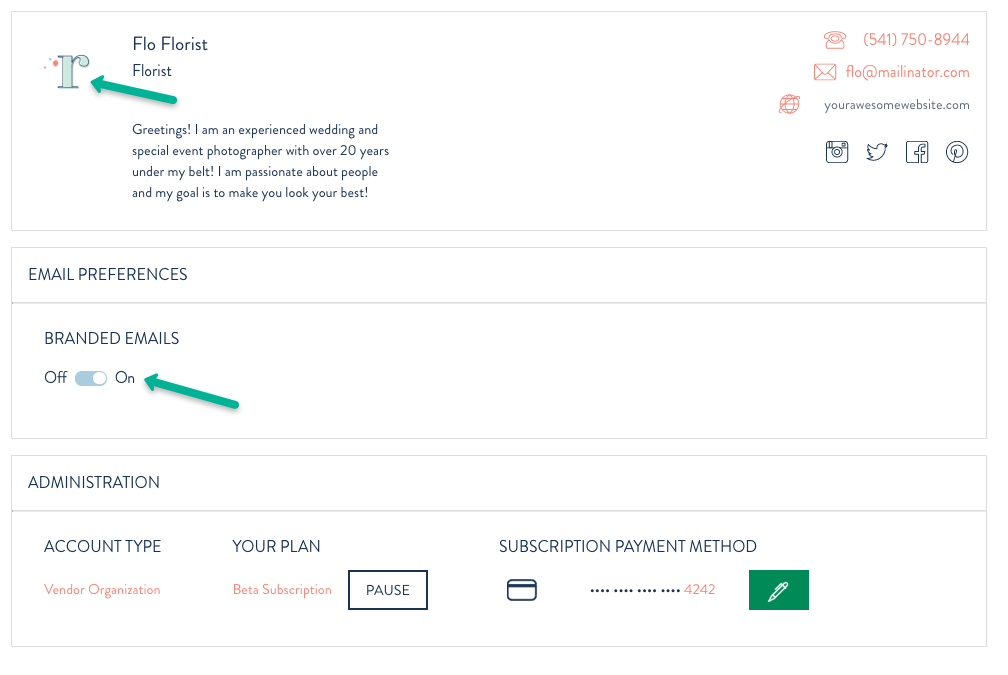
3. Showcase YOUR brand in emails
This is where it starts getting fun! Head over to your business profile (clicking on your name in the top-right menu). Ensure the logo on your business profile is what you want clients to see, then turn the “branded emails” toggle to on. That’s it! Now your clients will see your branding in emails generated on RPC. Here’s a video with more detail about branded emails.
4. Add to your RPC Folders + link your Google Drive account
Your RPC account has (2) folders to securely store important information: Company and Client Folders. To get your account fully ramped up, upload company documents, files, images, videos, etc that you access often so they are always just a click away! And be sure to link your Google Drive account for an added level of ease! Get started on your Company Folders page.
Once you start to invite clients to RPC, you can also upload any pertinent files to individual Client Folders. Not only are the files easily accessible – but they are also shareable – both with your client and with other vendors they are working with on RPC.
For more information on RPC Folders, head over to our RPC Folders blog!
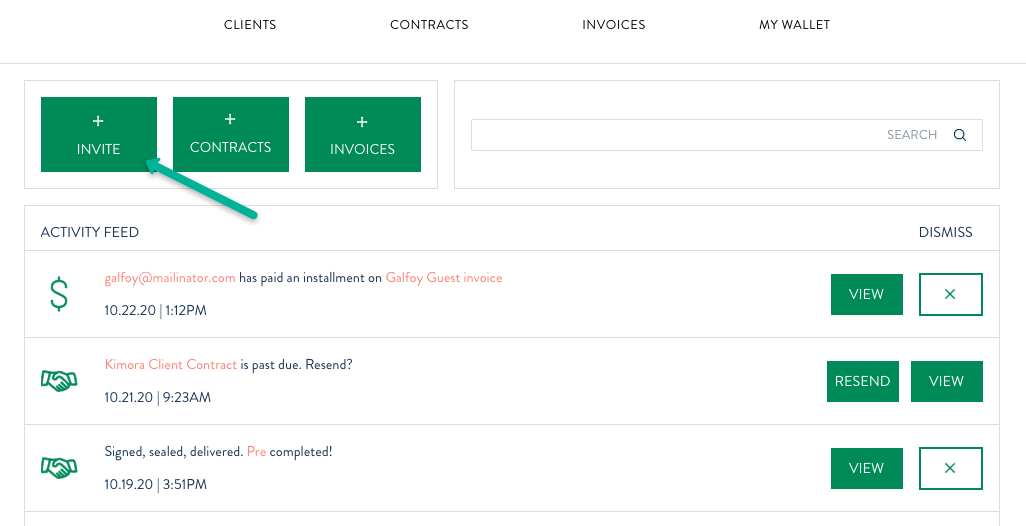
5. Send an invoice and/or contract to a prospective client
Let’s say you just had a great meeting with a potential client and you want to send them all of the necessary information and documents while it’s fresh in your mind. We’ve got the PERFECT workflow. Start by clicking “+ Invite” on your dashboard, enter the name and email for the primary contact, and check the appropriate box(es) for contract or invoice. Then hit “send” and we’ll lead you through the rest. Here’s a step by step video demonstrating the process.
For more information about sending invoices, head over to a recent blog here. And check out this step by step video walking you through contracts!
6. Add your social profiles so clients can follow your work
Again in your business profile, you’ll find a field (below your website) to add your social media profiles. Click the pencil “edit” icon and add any and all accounts! Clients will be able to access them from your profile!
7. Take a spin as a client!
You’re a true professional. You want to know how RPC looks and works for clients before asking them to use it. We understand. That’s why one of our biggest focuses is on the client experience. Take a peek at this video of how a client account looks and operates. And have a little of peace of mind knowing that we’ll be sending them automated reminders about contract and invoice due dates!
That’s the 6 easy steps to getting started with Rock Paper Coin. Still have questions or want to discuss specific business needs? Reach out to [email protected] and we’ll make sure you have all the information and support you need to feel confident with your account now and in the future. Cheers to booking and managing more business the easy way!